Secured the permit from the township. I provided them a plot plan and a very simple diagram of how the shed will be built. 1 week and $35 later I had the permit in hand.
The shed must sit on either a stone or cement pad. I opted for stone to keep the cost down.
Using small stakes and string, I identified the location of the shed.
Measured, squared and oriented the shed with the same angle of the house.
No! that's not the house in the background, that's the neighbor's garage.
Started to place and level the pressure treated 4x4's for the stone pad box where the shed will sit. The reciprocating saw was used to remove some larger roots - very effective.
Once I started the second level of 4x4's, I toe nailed them together on the inside of the box using 3.5 inch construction screws. This will hold them together until the rebar is added and gives me an opportunity to line each 4x4 up perfectly and secure as some were bent and twisted.
Completed placing all the 4x4's
Using a 9/16 paddle bit with a 16' extension, I drilled the holes for the 1/2 inch rebar and hammered them in place.
A baby birdie stopped by to say hello.
This is where I created more work for myself but it was worth it.
I dug a few yards of topsoil out of the pad area as I needed it for other projects. Topsoil is quite expensive so this saved me money in the long run.
I then back filled with chunks of concrete and cinder blocks which were on my property next to the stream. Yea ugly. I guess the previous owner dumped them there and i had to get rid of it anyway so killed 2 birdies with one stone. (No I didn't hurt the birdie)
The pic below only shows it about half completed but most all the topsoil was removed and back filled with concrete.
I added a 2x6 pressure treated board down the middle of the pad for more strength.
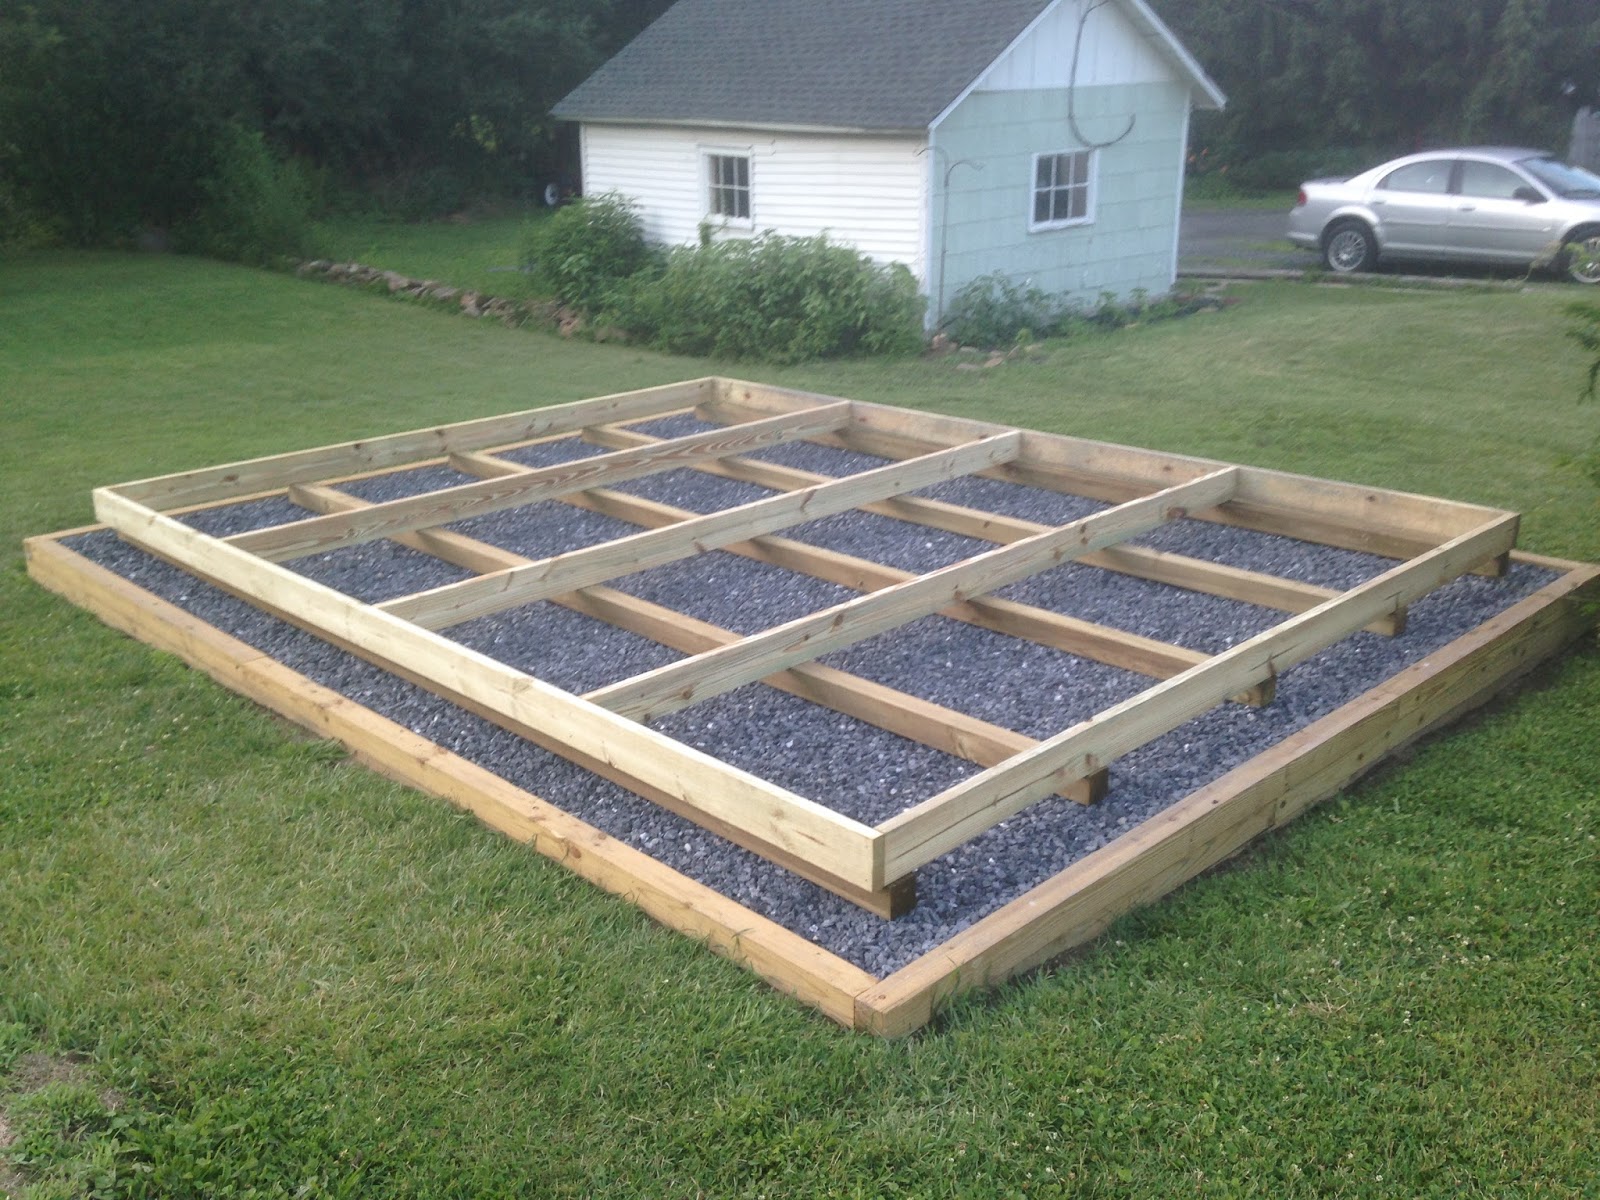
The local stone man delivered 10 tons of number 2 clean stone. I used clean stone as it drains very well and will help keep the underside of the shed as dry as possible.
The dump truck driver could not get close to the pad so he dumped all 10 tons in the driveway about 60 feet from the pad. Using only a shovel and a cheap wheel barrow, I slowly began filling in the pad.
~120 wheel barrow loads and 2 weeks later, the pad was filled.
When calculating, I figured there would be about a ton of stone remaining but it sucked up all 10 tons.
It took about 16 hours of shoveling, moving it to the pad in the wheel barrow and raking but I only worked on it for an hour or so at a time in the evenings when it was cooler outside.
Yes I know - I should have rented a skid-steer but again I'm trying to keep the cost down.
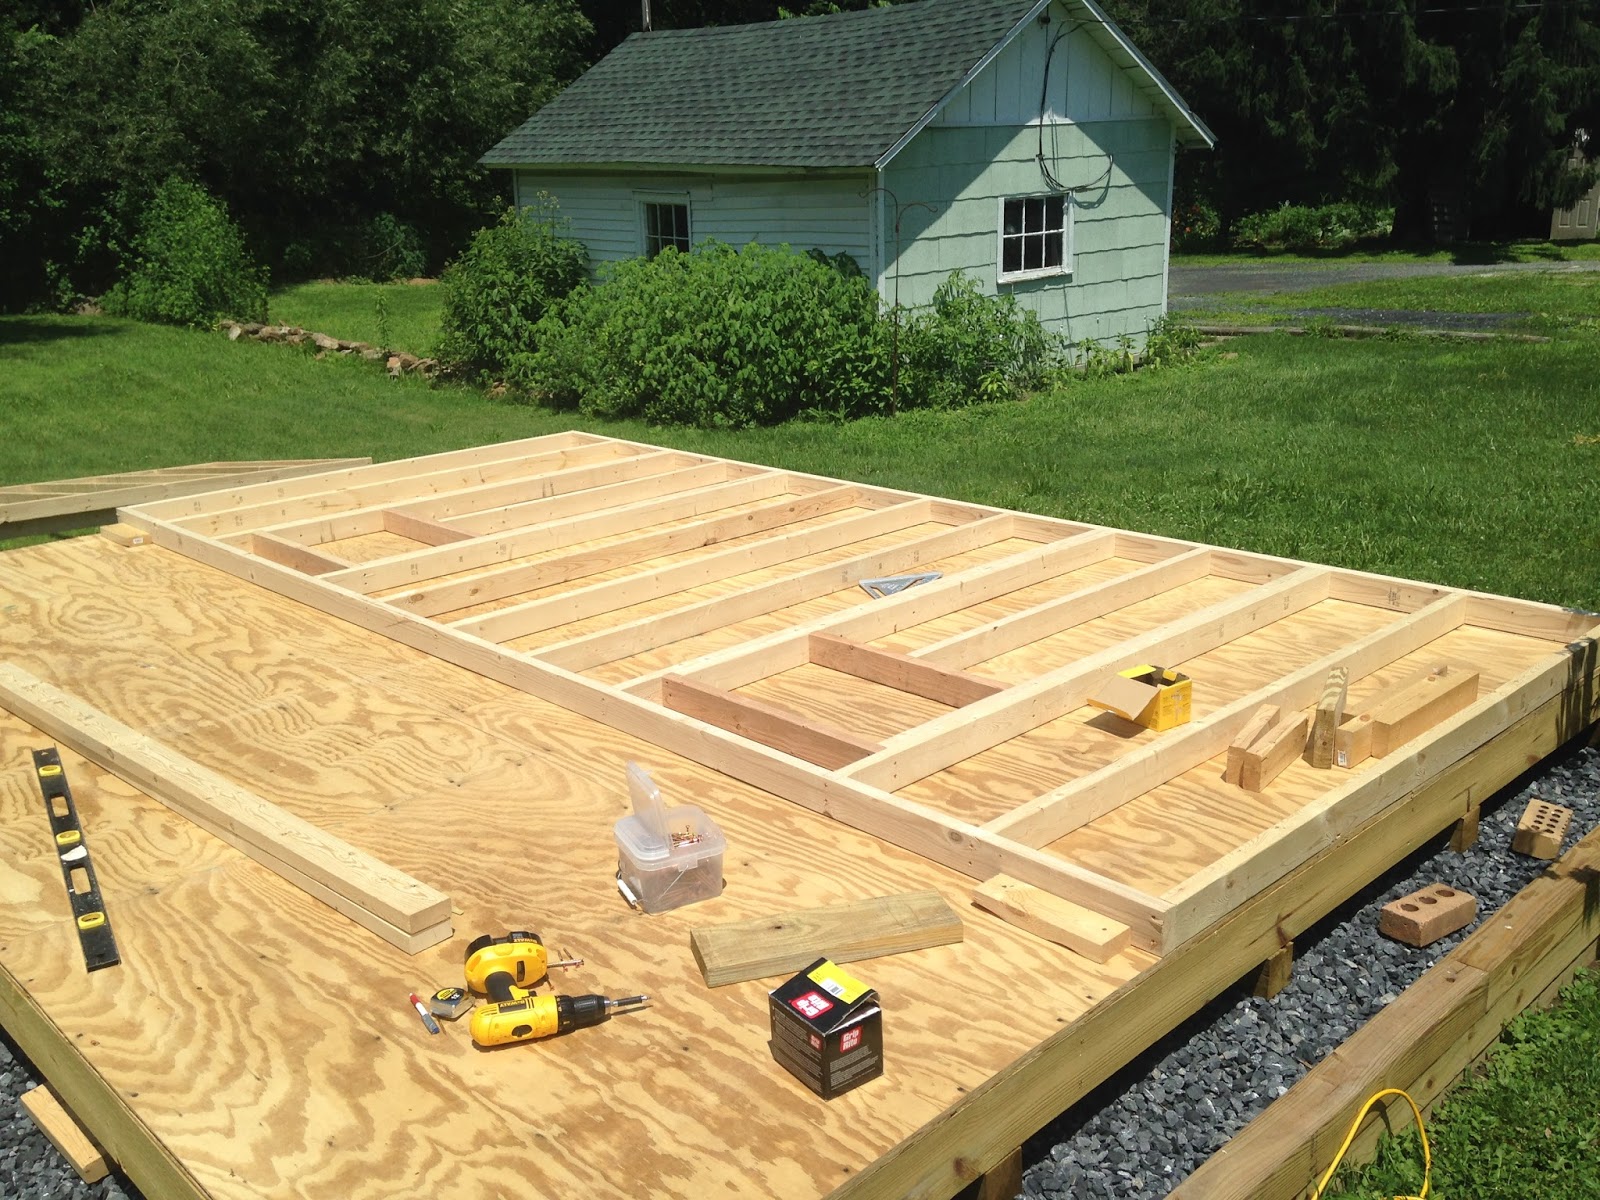
Used a 2x6 to level the stone out. It worked well but was not easy doing it by myself. Definitely a 2 man job.
All done with the pad as of June 19th, 2015!